Developer Walkthrough
This walkthrough takes you from a fresh clone through to running Atlas, exploring the capability map, and invoking MCP tools from MCP Inspector — the same flow an AI agent (GitHub Copilot, Claude, Cursor) goes through at runtime.
1. Start the stack
Prerequisites
# Trust the HTTPS development certificate (required once per machine)
dotnet dev-certs https --clean
dotnet dev-certs https
dotnet dev-certs https --trust

# Build all projects
dotnet build src/Atlas.AppHost/Atlas.AppHost.csproj
Launch with Aspire
aspire run --project src/Atlas.AppHost
Aspire starts all services and opens the Aspire Developer Dashboard automatically. On first run Docker pulls the Keycloak and MCP Inspector images, which can take a few minutes.
2. The Aspire dashboard
Once all services are running, the Aspire dashboard shows every resource in the application — their state, endpoint URLs, structured logs, distributed traces, and metrics.
The Aspire dashboard opens automatically at https://localhost:17001 (or the URL printed to the terminal). It looks similar to the image below — each service card shows its state and links to its endpoints, logs, and traces.
| Column | What it shows |
|---|---|
| Name | Service name — atlas-host, keycloak, sample-api-tool-enabled, etc. |
| State | Running / Starting / Unhealthy |
| Endpoints | Clickable HTTPS/HTTP URLs for each service |
| Source | Project path or container image |
Wait until both atlas-host and keycloak show Running before navigating to the Atlas UI or MCP Inspector. Keycloak must be ready before Atlas can validate JWT tokens.
Use the Logs tab on the left for real-time structured logs, and Traces for distributed request traces across services.
3. The Agent Atlas capability map
Navigate to the Atlas.Host endpoint shown in the Aspire dashboard (typically https://localhost:<port>).
The React UI is a read-only capability map — no authentication is required to browse it.
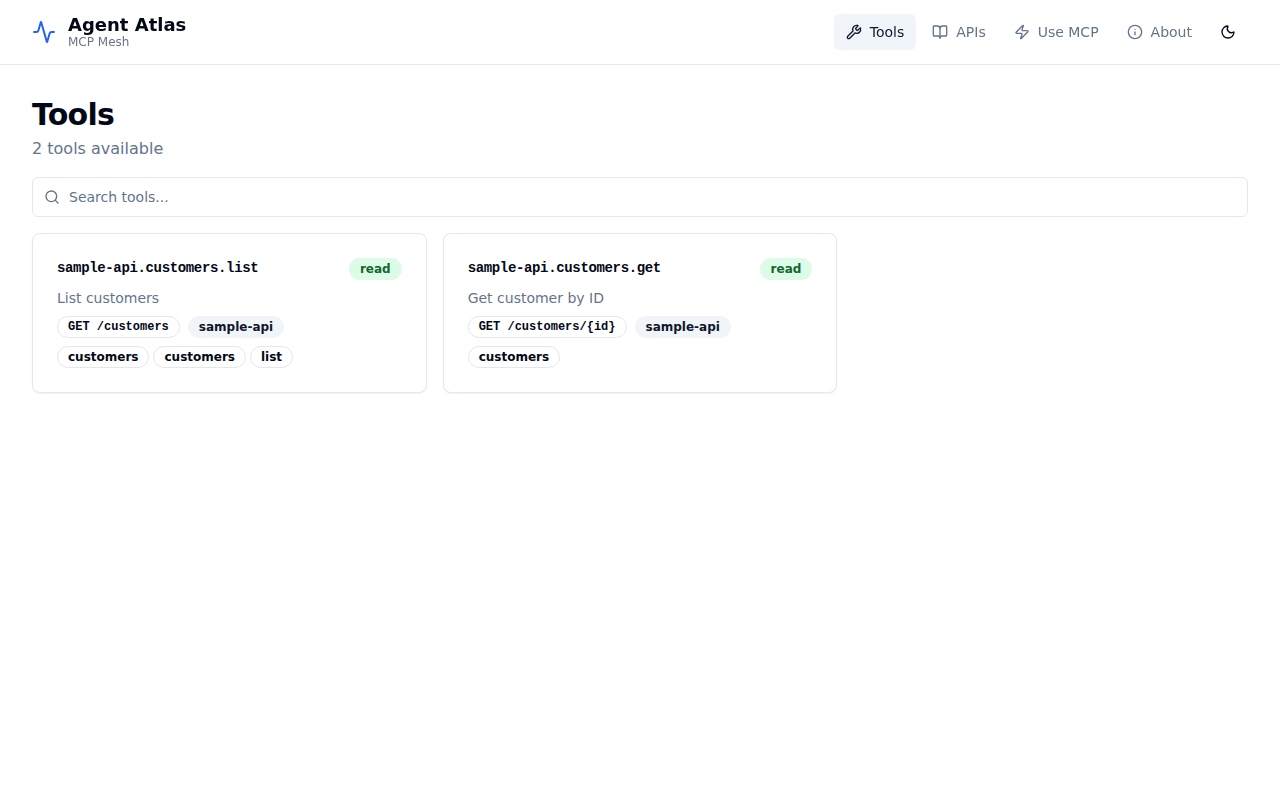
Tools tab
The Tools tab lists every API operation that has been published as an MCP tool via the x-mcp vendor extension.
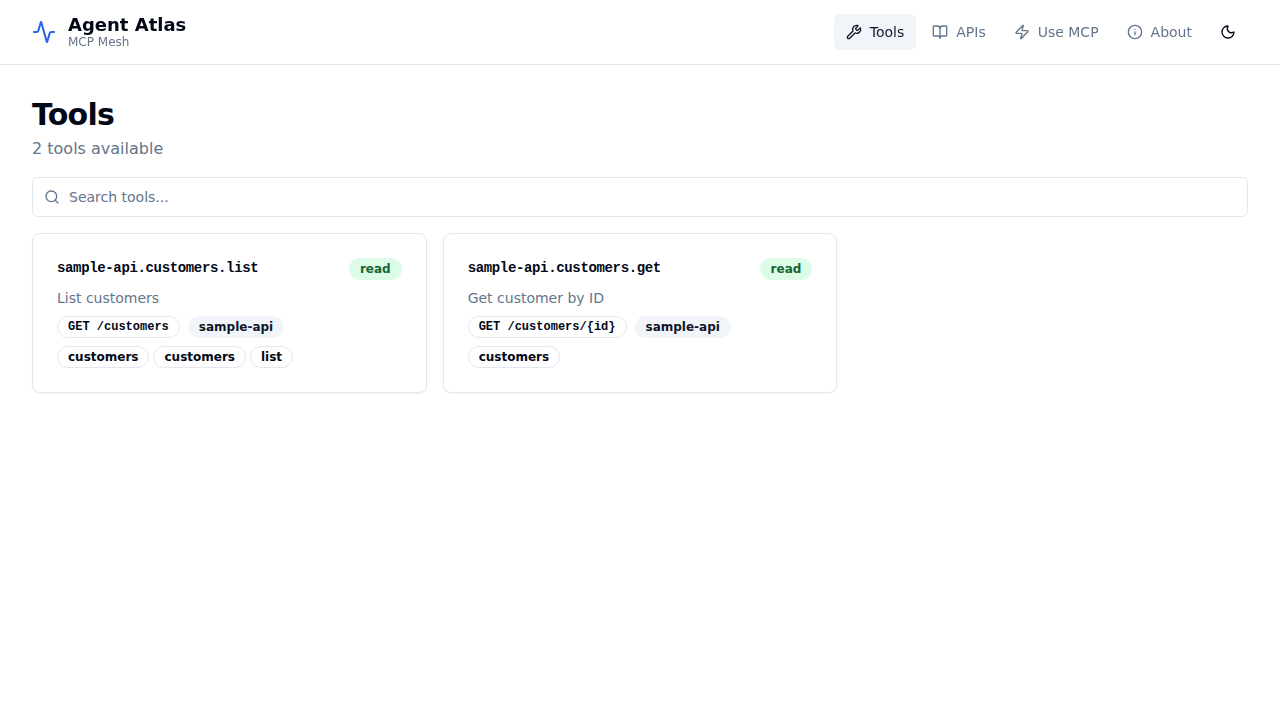
Each card shows:
- The stable tool ID (e.g.
sample-api.customers.list) - The safety tier badge:
read,write, ordestructive - The HTTP method and path
- Tags and the owning API ID
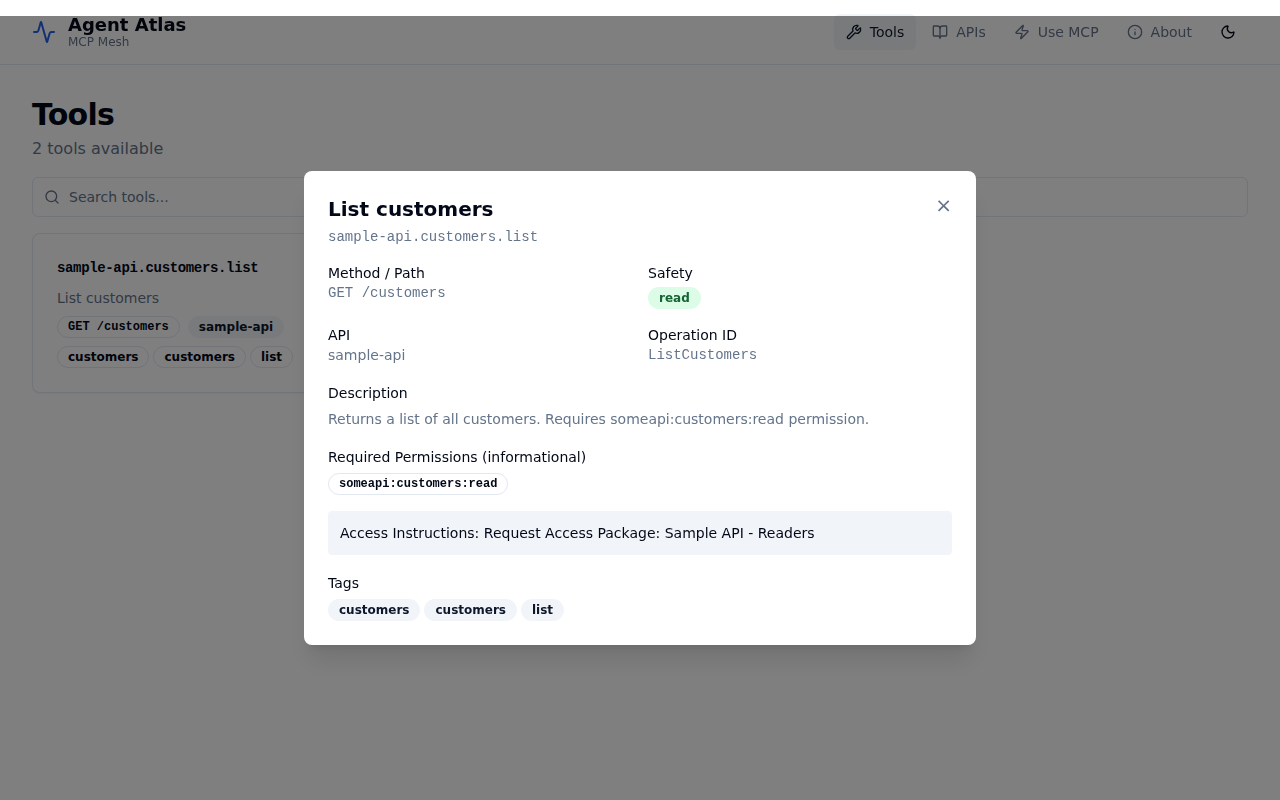
Click any card to expand the detail panel showing full metadata — description, required downstream permissions, entitlement hint, and operation ID.
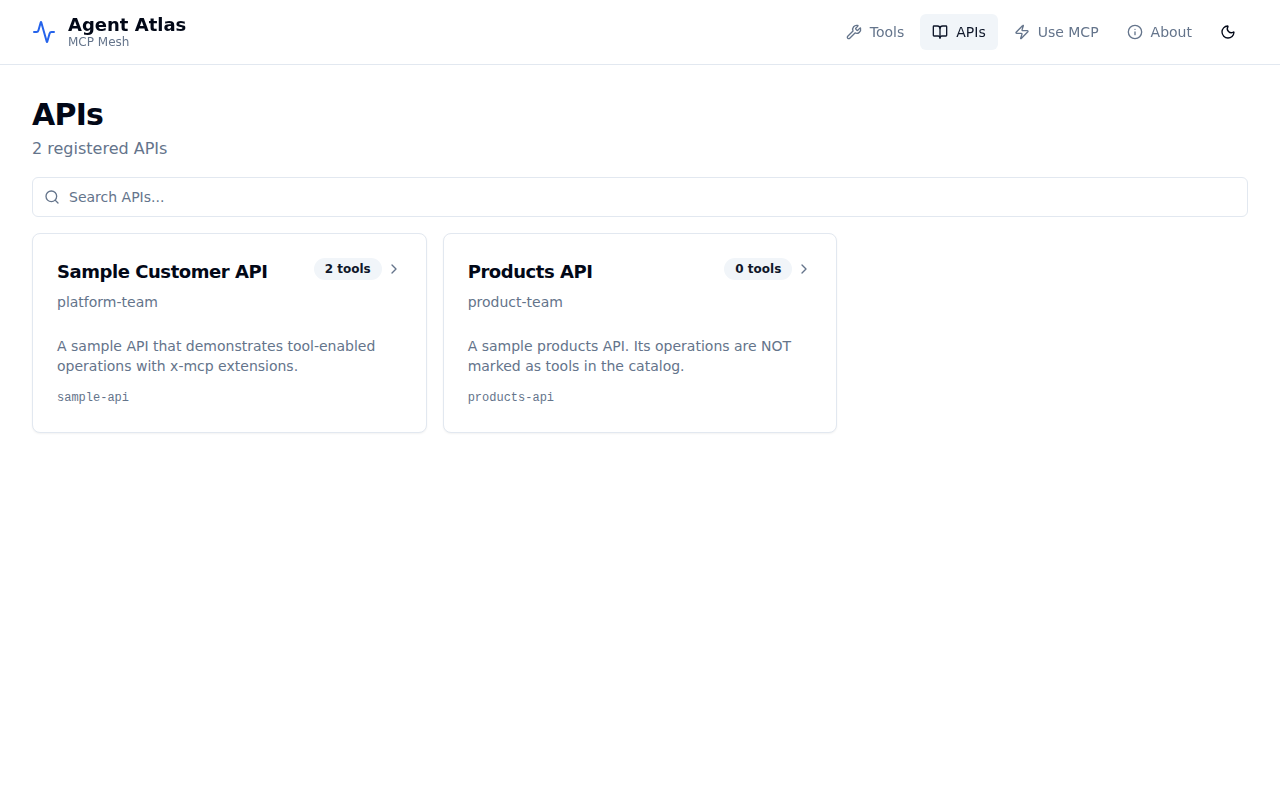
APIs tab
The APIs tab lists every API registered in the catalog, with or without published tools.
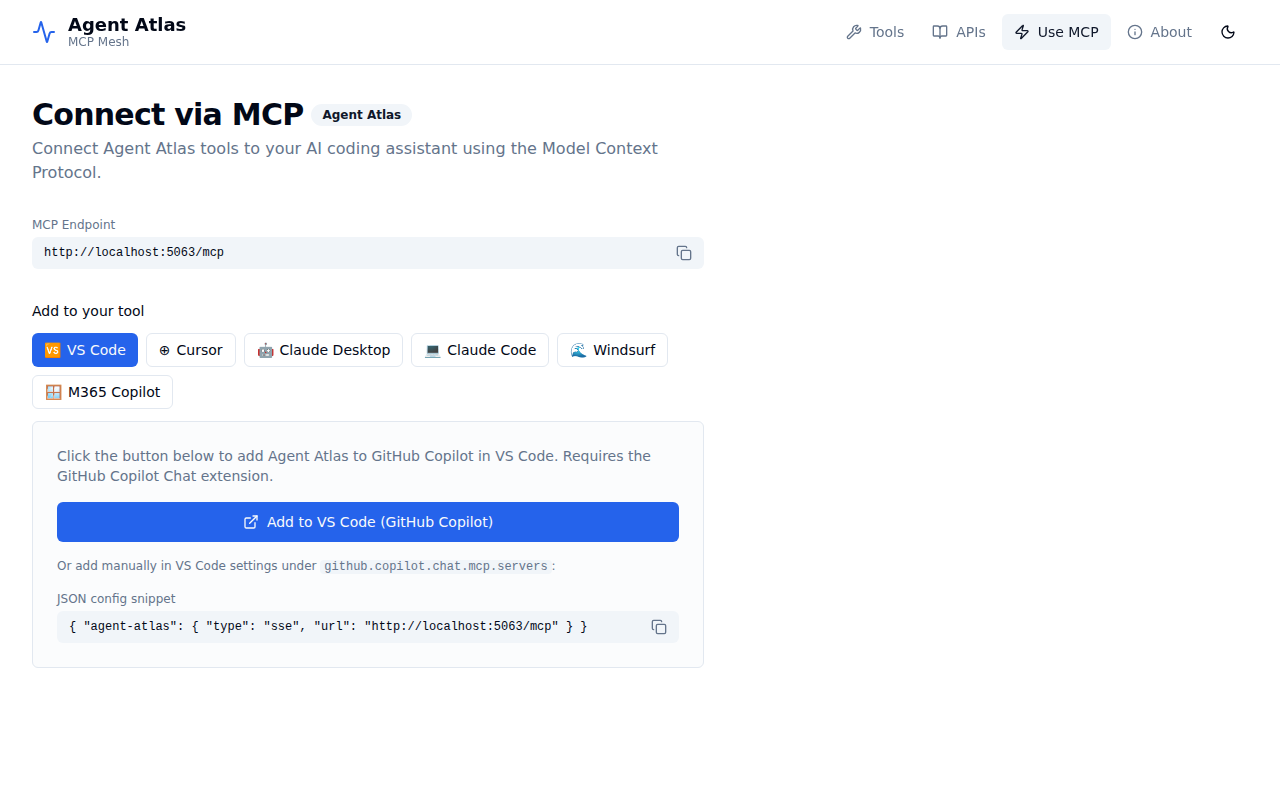
Use MCP tab
The Use MCP tab provides ready-to-copy configuration snippets for VS Code (GitHub Copilot), Cursor, Claude Desktop, Claude Code, Windsurf, and M365 Copilot.
4. Get an access token from Keycloak
Atlas.Host requires a valid JWT with the platform-code-mode:search and platform-code-mode:execute scopes to call MCP tools.
When running via Aspire (with Keycloak), use the atlas-mcp-client service account:
# Retrieve the Keycloak token endpoint from the Aspire dashboard, e.g.:
TOKEN=$(curl -s -X POST \
  https://<keycloak-host>/realms/atlas/protocol/openid-connect/token \
  -d "grant_type=client_credentials" \
  -d "client_id=atlas-mcp-client" \
  -d "client_secret=atlas-mcp-secret" | jq -r .access_token)

echo "Token: ${TOKEN:0:40}..."
The atlas-realm.json pre-configures atlas-mcp-client with three default scopes:
platform-code-mode:search— required to callsearch_toolsplatform-code-mode:execute— required to callexecute_plansomeapi:customers:read— downstream permission for the sample API
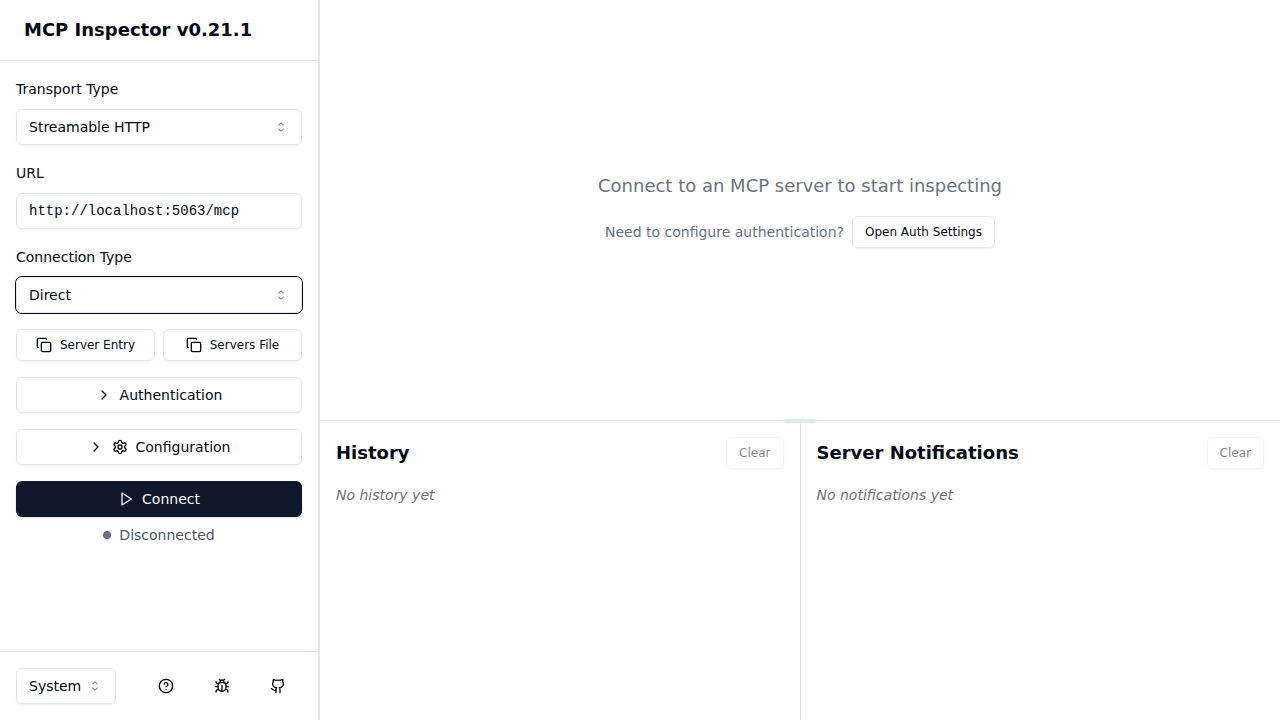
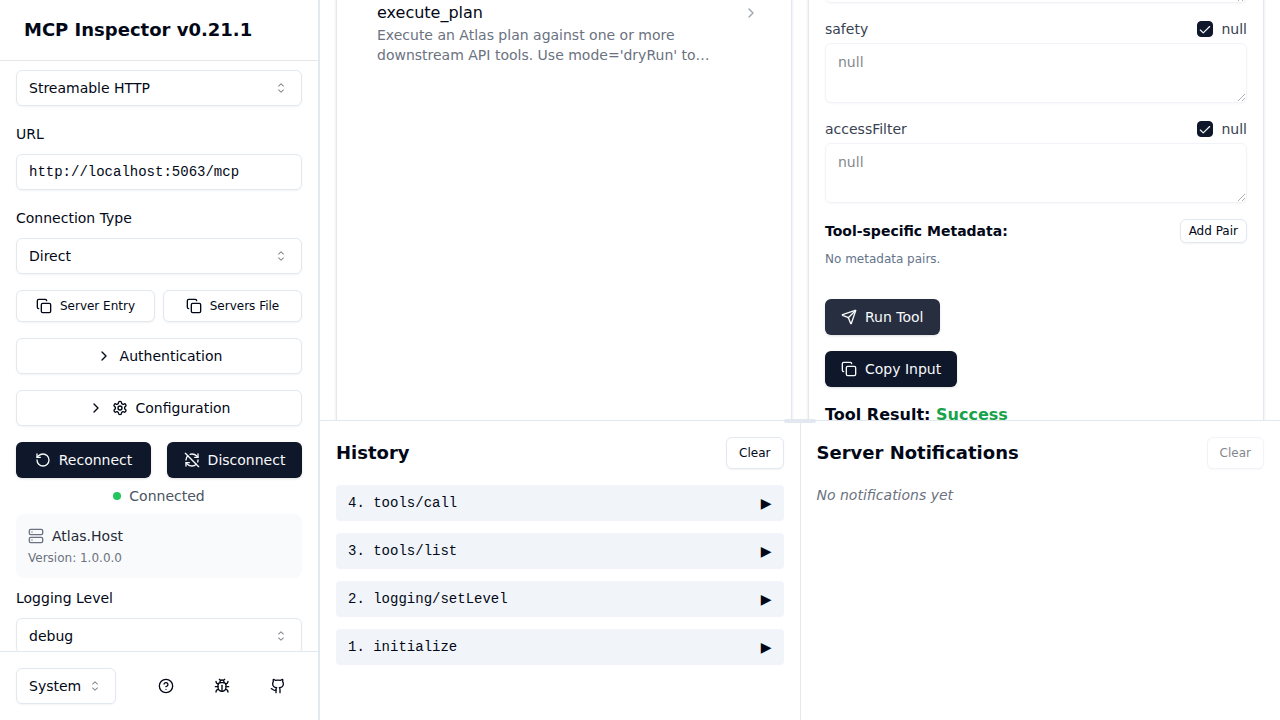
5. Connect MCP Inspector
When running the full Aspire stack, MCP Inspector starts automatically (at http://localhost:6274). It is pre-wired to connect to Atlas.Host’s /mcp endpoint.
Option A — Guided OAuth2 PKCE flow (recommended)
MCP Inspector supports a built-in guided OAuth2 flow. Atlas.Host advertises the Keycloak authorization server and the required scopes via the WWW-Authenticate challenge, so MCP Inspector can complete the entire PKCE exchange without any manual token copying.
Step 1 — Configure the connection
Open MCP Inspector. Set:
| Field | Value |
|---|---|
| Transport Type | Streamable HTTP |
| URL | Atlas.Host /mcp endpoint from Aspire dashboard (e.g. http://localhost:5063/mcp) |
| Connection Type | Direct |
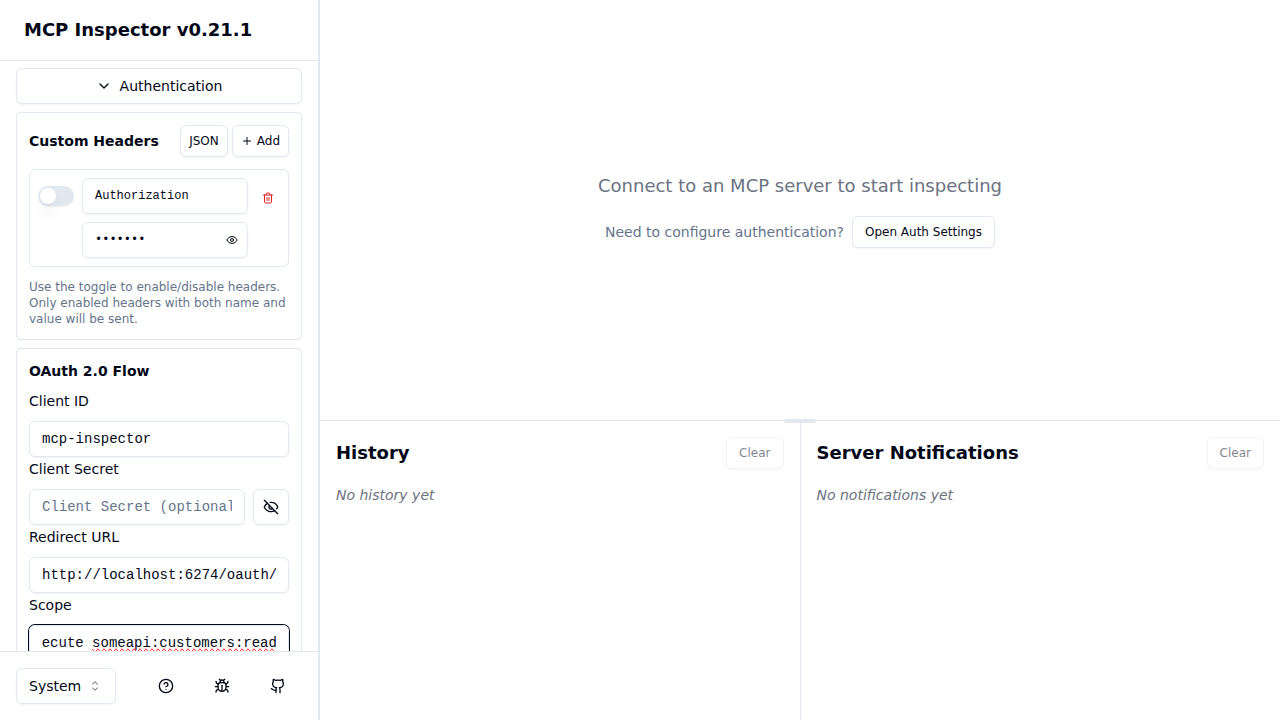
Expand Authentication → OAuth 2.0 Flow and set:
| Field | Value |
|---|---|
| Client ID | mcp-inspector |
| Client Secret | (leave empty — public PKCE client) |
| Redirect URL | http://localhost:6274/oauth/callback |
| Scope | openid platform-code-mode:search platform-code-mode:execute someapi:customers:read |
Step 2 — Connect and authenticate
Click Connect. Atlas.Host responds with 401 Unauthorized and a WWW-Authenticate header pointing at the Keycloak realm. MCP Inspector reads the challenge, autodiscovers the Keycloak authorization endpoint, and opens the Keycloak login page.
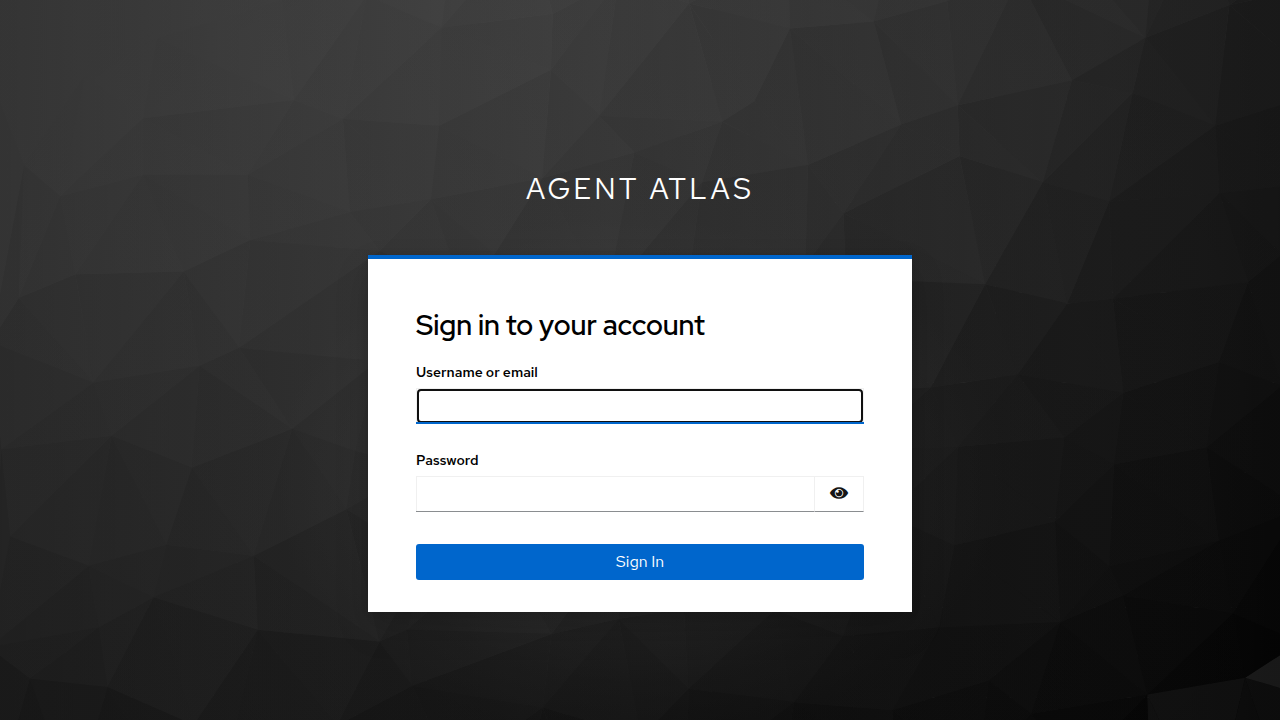
Sign in with the pre-configured developer account:
| Field | Value |
|---|---|
| Username | developer |
| Password | developer |
This account is created automatically by the realm import — no manual setup required. It belongs to the atlas-developers group and receives all three required scopes (platform-code-mode:search, platform-code-mode:execute, someapi:customers:read) from the mcp-inspector client’s default scope configuration. This seeded developer account is intended for local development and demos only; do not use or rely on it in any shared, staging, or production environment. For non-local deployments, remove this user from the realm import or change its credentials and permissions before exposing the system to other users.
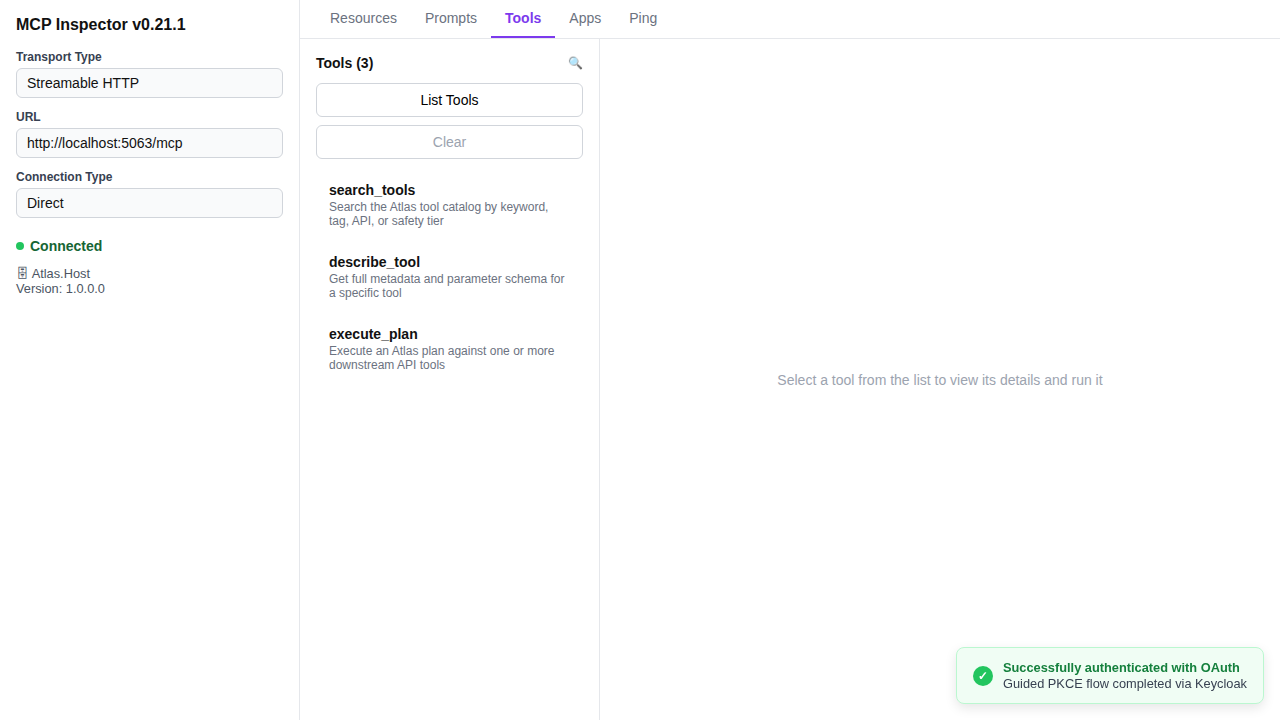
Complete the Keycloak login. MCP Inspector exchanges the authorization code for a token and retries the connection automatically. The status changes to Connected, Atlas.Host’s server info appears, and a success notification confirms the guided PKCE flow completed.
Option B — Manual bearer token (M2M / scripted access)
Use the token obtained in section 4 (Get an access token from Keycloak). Expand Authentication → Custom Headers and add:
| Header | Value |
|---|---|
Authorization | Bearer <token from step 4> |
Then click Connect. Atlas.Host validates the JWT and returns a session ID. The status changes to Connected.
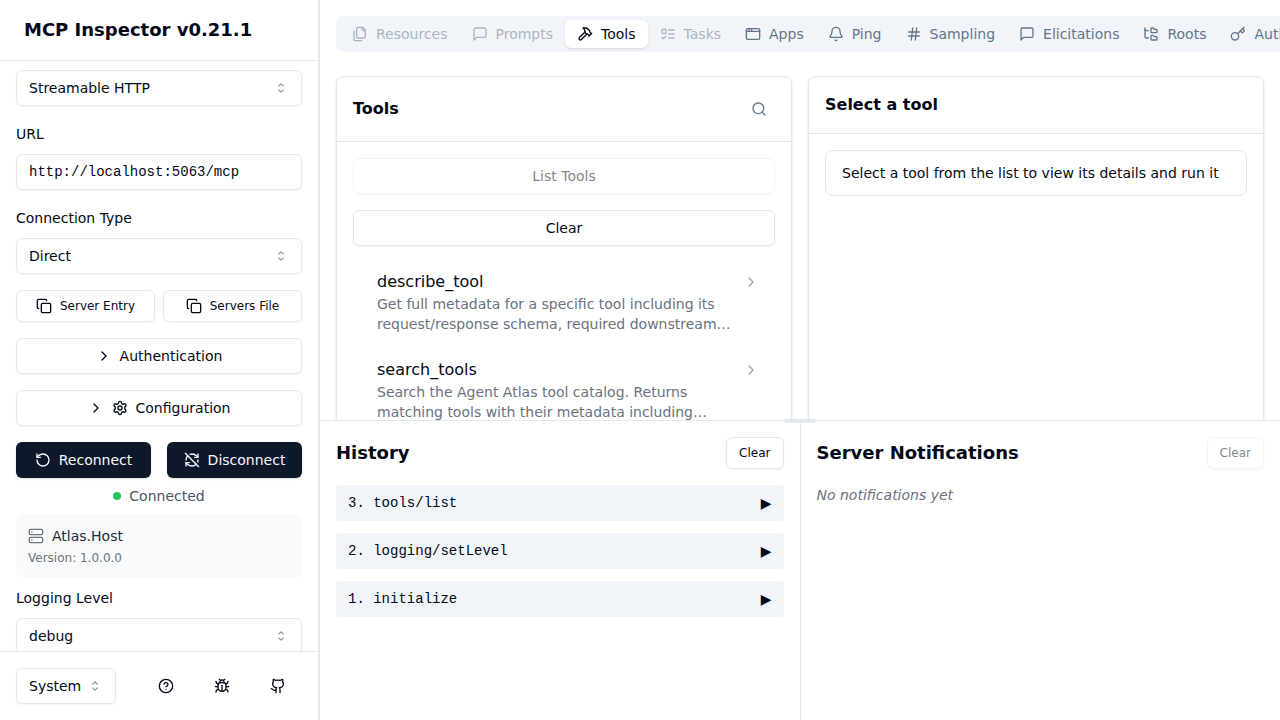
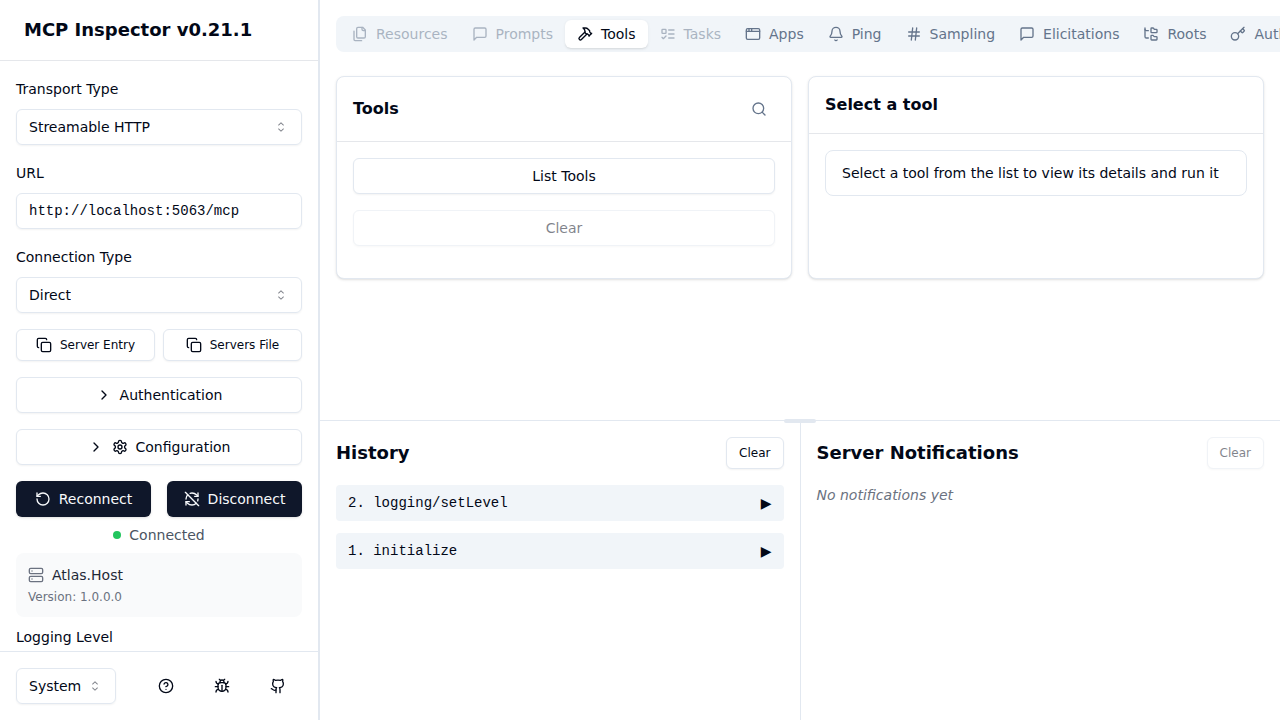
Step 3 — List tools
Once connected, click List Tools to load the three Atlas MCP tools:
search_tools— search the catalogdescribe_tool— get full metadata for a specific toolexecute_plan— run a JSON plan against downstream APIs
Step 4 — Run search_tools
Select search_tools from the list. The right panel shows the tool’s description, input schema, and safety annotations.
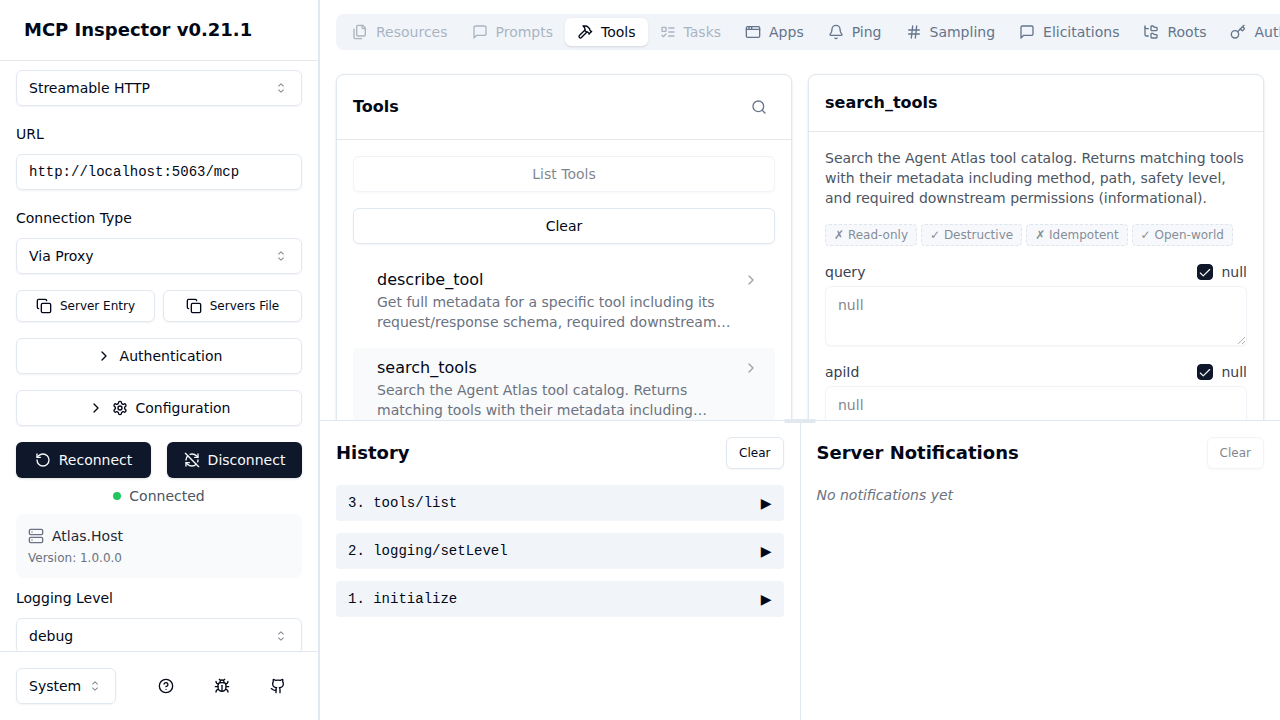
Leave all parameters as null to return all tools, then click Run Tool.
Atlas.Host responds with the full catalog. Each entry contains:
toolId— stable identifier used inexecute_planapiId,method,path— routing metadatasafety— read / write / destructiverequiredPermissions— what the caller’s JWT must contain for the downstream APIentitlementHint— human-readable access request guidance
Step 5 — Run describe_tool
Select describe_tool and enter a toolId (e.g. sample-api.customers.list). Click Run Tool to retrieve the full OpenAPI-derived schema for that operation, including the request body/parameter schema.
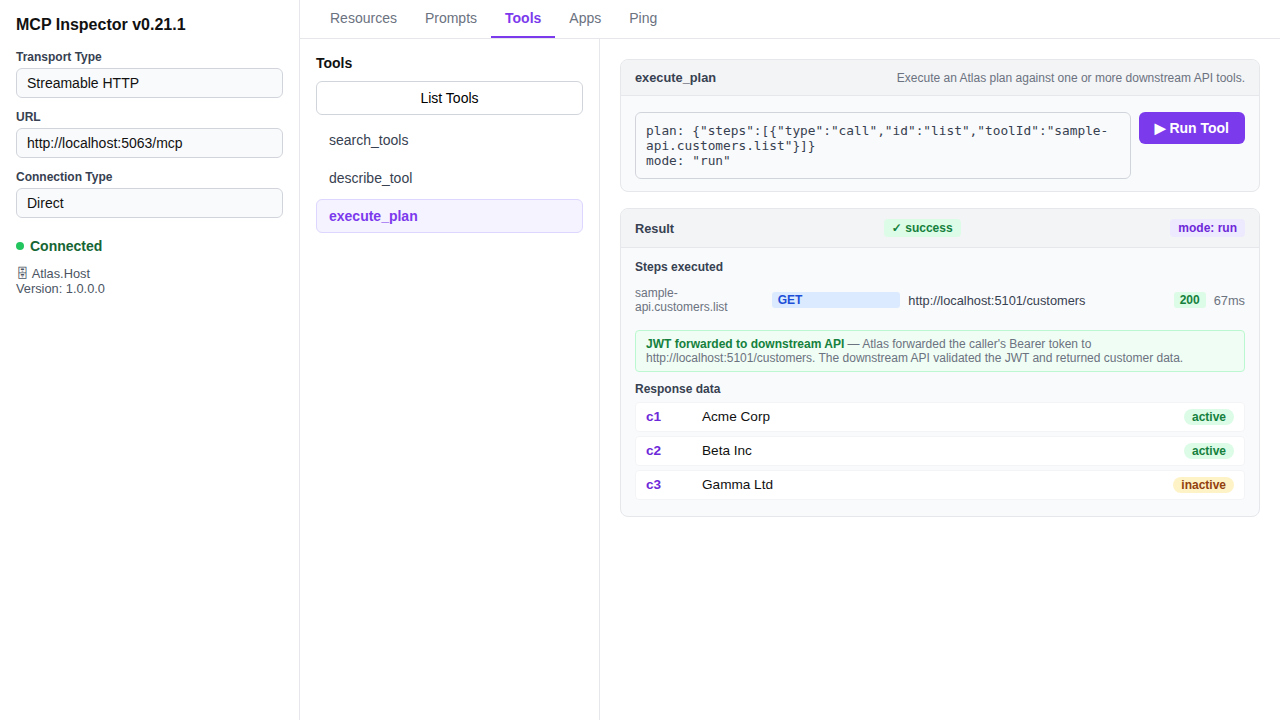
Step 6 — Run execute_plan
Select execute_plan and provide a plan in the plan parameter. A minimal dry-run plan looks like:
{
  "mode": "dryRun",
  "steps": [
    {
      "type": "call",
      "id": "list",
      "toolId": "sample-api.customers.list"
    }
  ]
}
Use "mode": "dryRun" first to validate the plan without making downstream HTTP calls. Switch to "mode": "run" to execute for real.
When mode is "run", Atlas forwards the caller’s JWT verbatim to every downstream API — this is the JWT passthrough mechanism. The downstream API receives exactly the same Bearer token the MCP caller presented to Atlas, enforcing the caller’s own downstream permissions rather than a privileged service account.
Security note: Because the JWT is forwarded as-is, the token must carry all permissions required by every downstream API in the plan. If the caller’s JWT does not contain a permission expected by a downstream API (e.g.
someapi:customers:read), that API will return401or403and the plan step will fail. Atlas does not mint or escalate tokens on behalf of callers.
6. Using Atlas from an AI agent
Once you have verified the tools work in MCP Inspector, configure your AI assistant to point at the Atlas /mcp endpoint. The Use MCP tab in the Atlas UI provides the exact configuration snippets.
For GitHub Copilot in VS Code, add to .vscode/mcp.json:
{
  "servers": {
    "agent-atlas": {
      "type": "http",
      "url": "https://<atlas-host>/mcp",
      "headers": {
        "Authorization": "Bearer ${env:ATLAS_TOKEN}"
      }
    }
  }
}
The agent can then call search_tools to discover available tools, describe_tool to understand schemas, and execute_plan to invoke them — all via the governed Atlas gateway.